There are many image conversion software packages for Windows 11. You can use this software to convert images into different file formats. However, many cannot be integrated into the Windows 11 context menu.
File Converter and Sage Thumbs are two notable exceptions that add conversion options to Explorer’s context menu in Windows. These software packages allow you to convert images from the context menu by right-clicking on their files. This is how you can add image conversion options to Windows 11 context menu with these software packages.
File Converter is a freeware conversion tool for Windows 11, 10, 8, 7 and Vista platforms. This software allows you to convert different types of images, documents, videos and audio files to alternative formats using the context menu. It supports four output formats for image conversion (PNG, JPG, ICO and Webp). File Converter allows you to add image conversion options to Explorer’s context menu as follows:
- Open the file converter website.
- Choose Download on this website.
- Use one of the many ways to open Windows Explorer to locate the downloaded file FileConverter-1.2.3-x64-setup.msi Plumber.
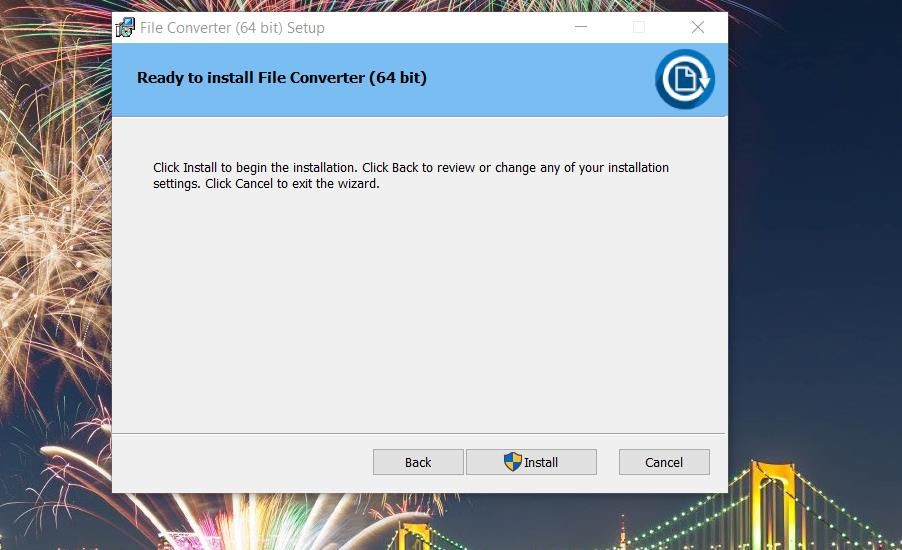
- double click FileConverter-1.2.3-x64-setup.msi to open the File Converter setup wizard.
- Choose Next to view the end user agreement.
- Click the checkbox for the I suppose Possibility.
- Choose Next again and click change if you want to choose a different target directory. Choose an alternate directory and click OK.
- Press the Next Button to bring up the option to install SageThumbs.
- click To install > Finished to complete the setup.

Now you will see image conversion options in the context menu for compatible input file formats. Go to a folder that contains some PNG, JPG, BMP, or TIFF images. Then right-click an image file and select it Show more options to bring up the classic context menu. Hover over the new one File Converter submenu and select a conversion option from there.

A file converter window will then quickly light up and close. The output file will be saved in the same folder that contains the image to be converted. It has the same file name with a number added.
You can view the File Conversion window by selecting Configure presets option in the submenu. That conversion presets The tab in this window allows you to change input formats for conversion options. Select a conversion option on the left, and then uncheck or check the input format checkboxes.

You can also set JPG and PNG conversion options to rotate output images. Choose To JPG or To PNG Possibility. Then click on one of the 90, 180and 270-Grade radio buttons for the Turn Possibility. Choose Save on computer to apply your new preferences.
All image presets included scale options. drag the scale The left slider of the bar reduces the size of the output image. For example, setting this option to 50 percent effectively halves the size of the image, which also makes the file smaller. That Too small PNG Context menu option converts images to 25 percent of the size of their originals.
SageThumbs is an alternative image file converter compatible with Windows platforms since 2000. This software allows you to convert a variety of image formats to BMP, JMP, GIF and PNG files via the right-click menu. It also shows a thumbnail preview of the selected image, which is a good thing. Here’s how you can use SageThumbs to add options to convert images to the context menu:
- Visit the SageThumbs page on Softpedia.
- Choose Download and exterior mirrors Options for SageThumbs.
- Open the tab in your web browser software that displays downloaded files. You can see that Downloads Tab by pressing ctrl + J in Chrome, Edge, Firefox and Opera.
- press the sagethumbs_2.0.0.23_setup.exe file in your browser to view the SageThumbs installer.
- Choose Next and the I agree Checkbox for SageThumbs Terms of Agreement.
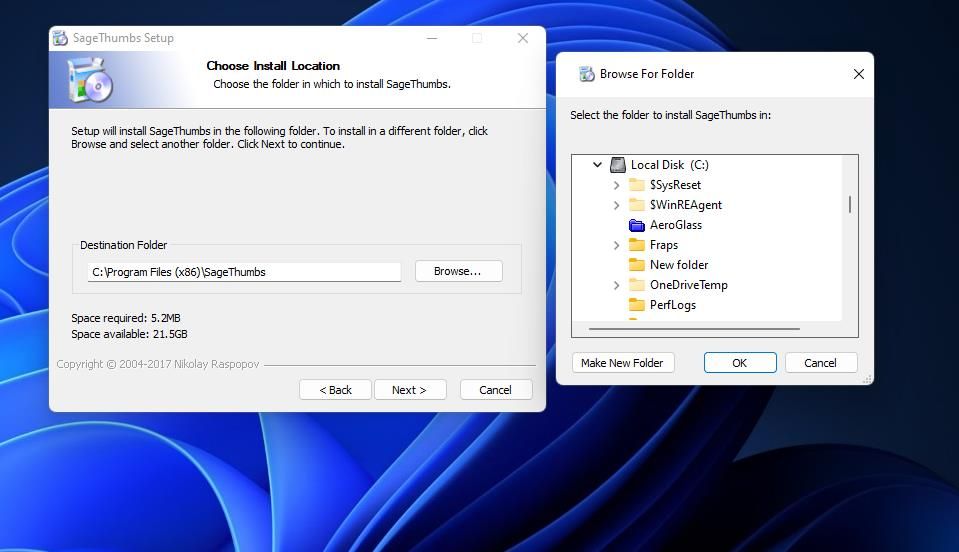
- Then you can click on Next to install SageThumbs with default settings. Choose search to select a different destination folder if required.
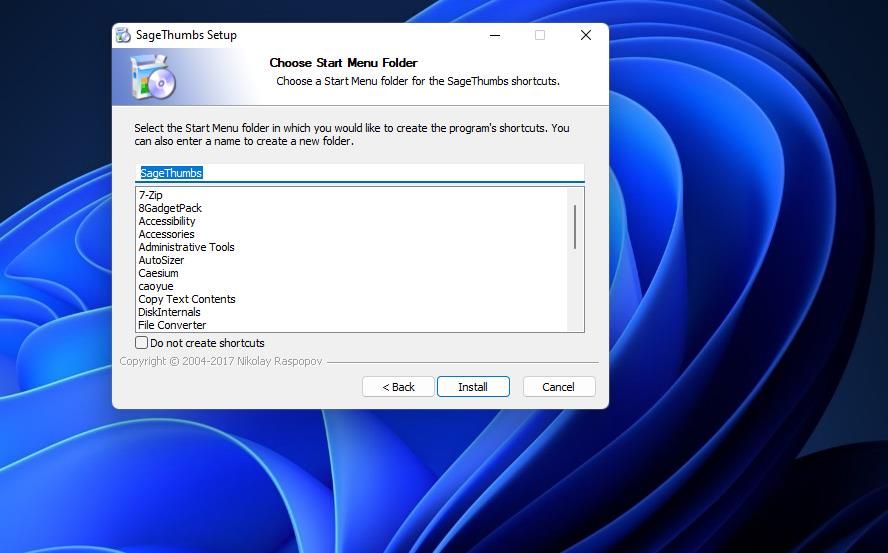
- Choose To install add one sage thumb Submenu to your context menu.
- Select the reboot now possibility.
- click Finished Start anew.


The black text in the SageThumbs submenu will not be clear when Windows 11 is set to dark mode. So switch to the light mode via the settings if you have that selected Dark Possibility. Then the File Explorer context menu has a light background that doesn’t clash with the black text.
After restarting, you can convert some images with SageThumbs. Open a folder that contains an image, right-click and select that file show more options. Hover over it sage thumb to enter its submenu. Then select one of the convert to options from there. The software automatically saves converted images in the source folder of the original file.

You’ll find that the SageThumbs submenu has some other handy options. You can also choose there Send picture via email to send an image using your default email software. Or choose them Set stretched wallpaper Option to add the image to the background of your desktop.
To view the software settings, click SageThumbs Options below in the context menu. You can select or deselect supported file types in the SageThumbs options window. The PNG format is surprisingly not selected by default. press the PNG Checkboxes so you can convert PNG images to JPG, BMP, or GIF files. If you want to convert files to icon format, select the ICO possibility too. click OK to save the changed options.

This window also contains some conversion options for images. You can set the quality for JPEG conversions by entering a value in JPEG quality Crate. Or enter another number PNG compression to adjust the compression level, which is set to the highest value by default.
The SageThumbs and File Converter software packages give you a more direct way to convert images into different formats. Both allow you to convert images and other file types quickly and seamlessly using Explorer’s context menu. Such options are a very convenient addition to the Windows 11 context menu for users who often need to change image formats.

