The error code 0xc0000098 appears when the users try to start the Windows operating system. The error code is accompanied by a message stating “Windows failed to start”.
This problem is usually caused by corrupt boot configuration data files and faulty Windows updates. In this guide, we will walk you through the troubleshooting methods that have worked for other users. Before proceeding, we recommend disconnecting any unnecessarily connected hardware devices.
Recent Articles
Boot into the Windows First recovery menu
Since the following error code is preventing you from starting Windows normally, you need to access WinRE to perform the troubleshooting steps.
WinRE is a companion operating system that is installed alongside the regular Windows operating system. It’s basically a stripped down version of Windows that includes recovery tools to diagnose and fix Windows problems.
To get started, you must first Create installation media on your device. Once this is done, connect the USB drive to your computer and boot into the Windows recovery environment.
1. Rebuild BCD
A problem with the boot configuration data could be causing the issue. The Boot Configuration Data file contains information about your computer’s boot options. If this file is corrupted, your computer will have trouble booting.
In this method, we will rebuild the boot configuration data file using command prompt to fix the problem. First boot into Windows recovery mode as explained above.
Here’s how you can do it:
- Once you are in recovery mode click on Troubleshooting.
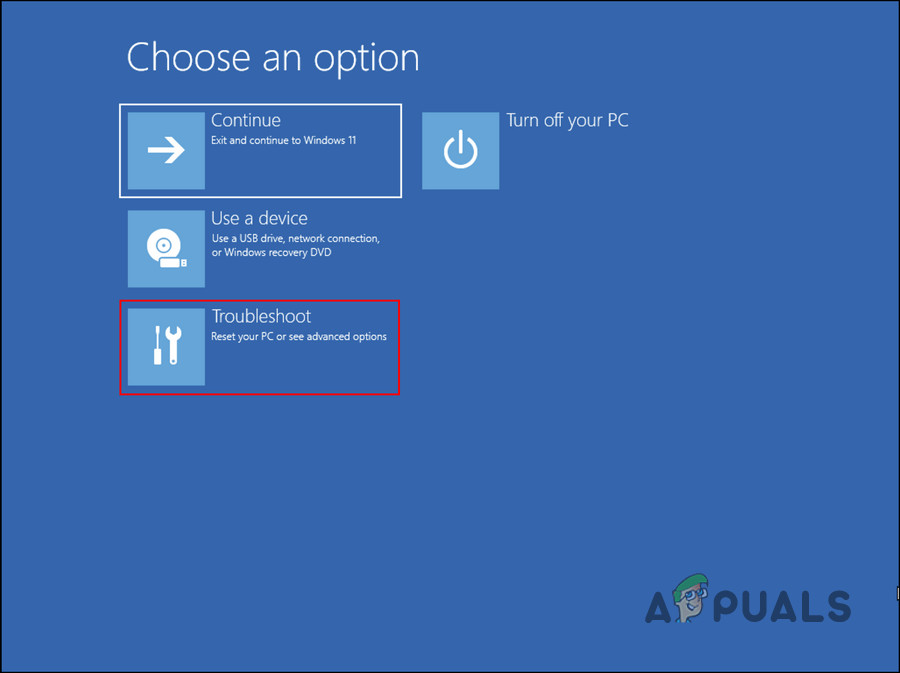
Click on the Troubleshoot option - Select in the window that opens Expanded options > command prompt.
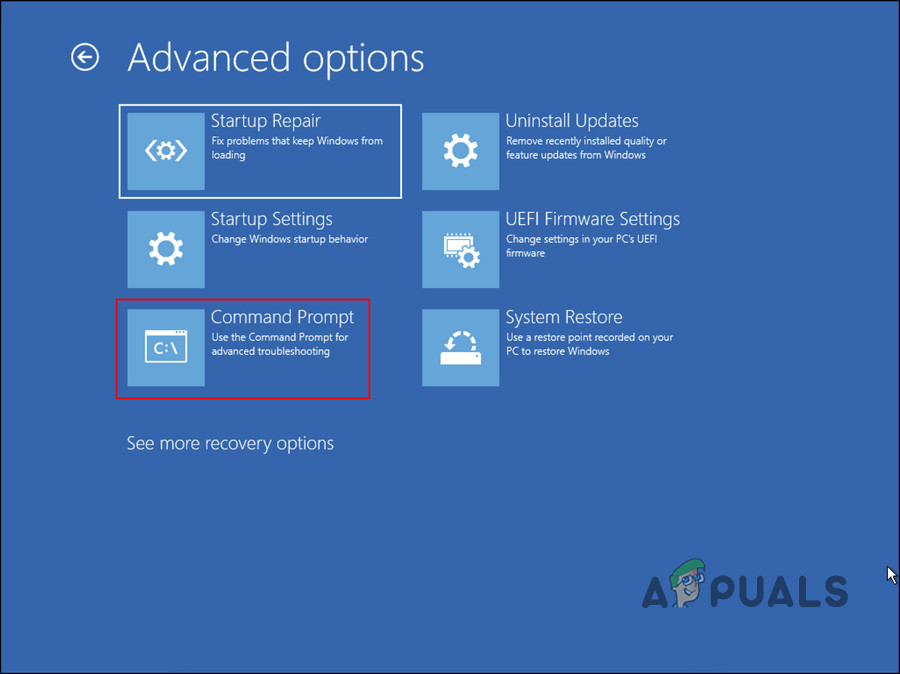
Select the Command Prompt option - Type the following command and press Enter to run it:
BCDEdit

Run the BCDEdit cpmmand command - Notice the drive letter next to OSdevice in the Windows Boot Loader section of the command prompt. Substitute that letter for X in the following commands.
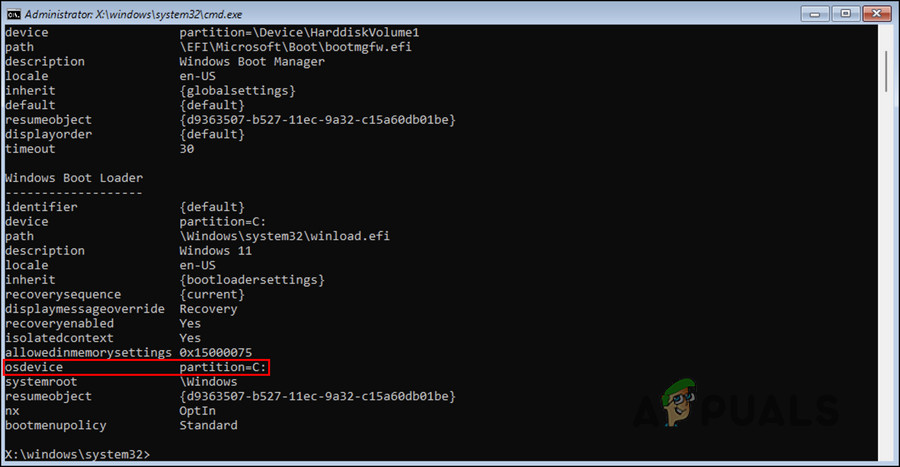
Locate the partition - Run the following commands one by one:
CHKDSK /f X: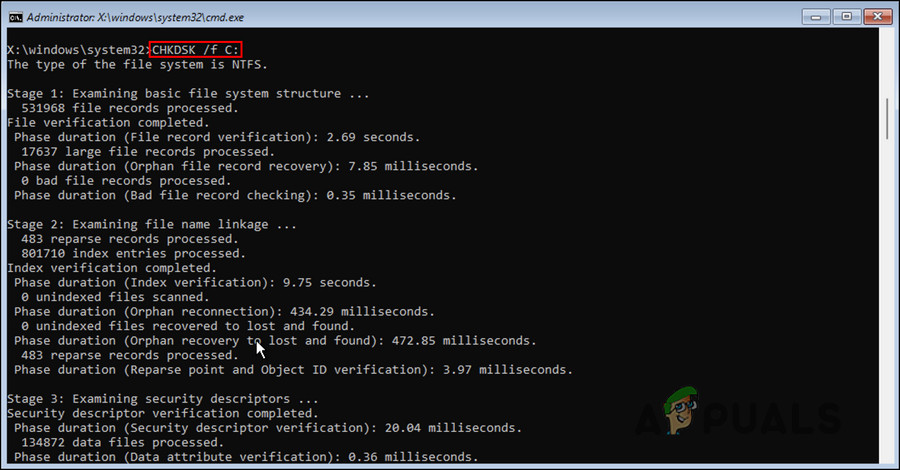
Run a CHKDSK scan - Now run the following commands:
C:
bootrec /fixmbr
bootrec /fixboot
bootrec /scanos
bootrec /rebuildbcd
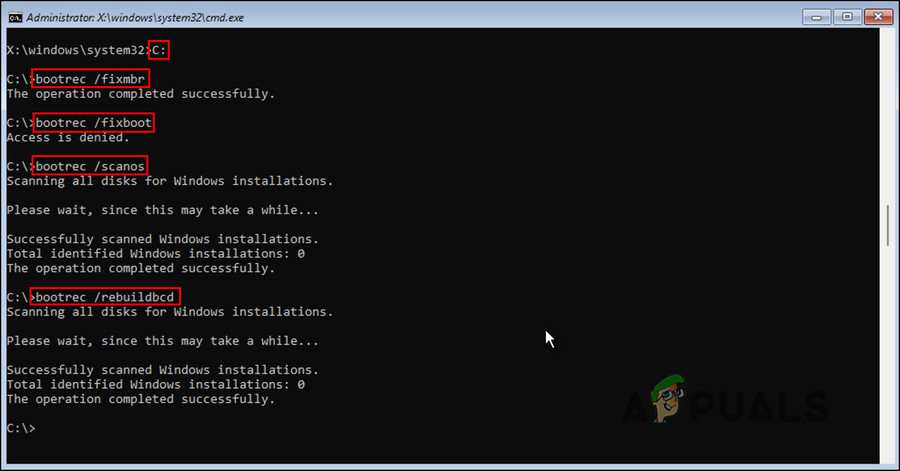
Run the entered commands - After running the command, type exit and press Input to close the command prompt.
- Go back to the Advanced Options screen and select jumpstart.
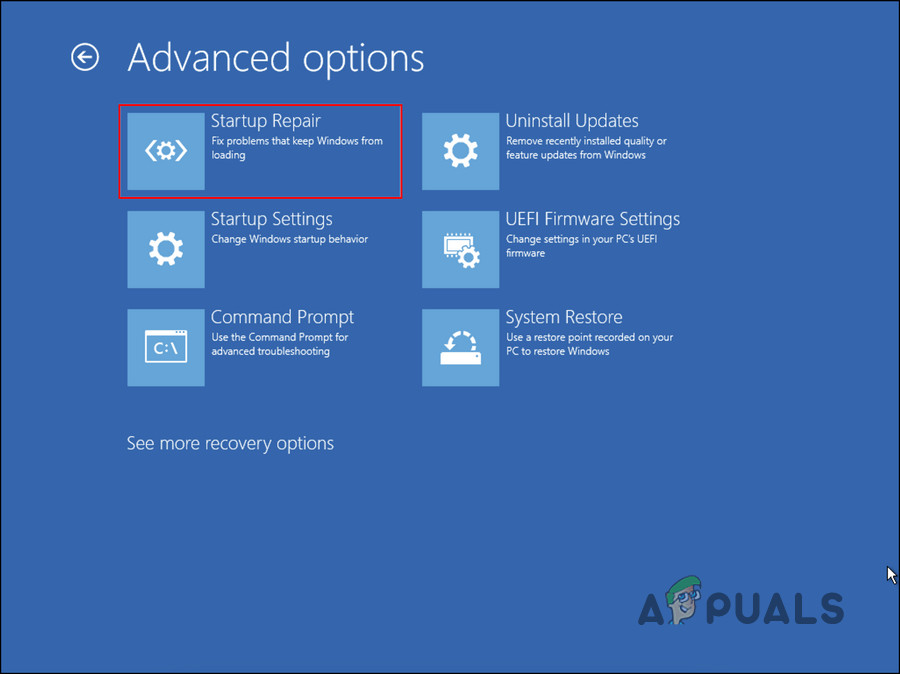
Choose the Startup Repair option - When the process is complete, restart your computer. Hopefully, when you restart, you will no longer face the error under consideration.
2. Run system scans
It is also possible that errors in the protected system files as well as viruses cause such problems. If you’re having a problem with system-related files, your best bet is to run the built-in troubleshooting utilities that are specifically designed by Microsoft to fix problems like this.
In case of the startup error, running the Microsoft System File Checker utility can help you rule out corruption errors within the system. If problematic files are found, the program will replace them with their healthy counterparts without harming the system.
With this we will also run the DISM utility to repair a corrupted system image.
Here’s how you can run SFC and DISM scans on Windows:
- Turn off your computer, wait a few seconds, and then turn it back on.
- Use the power button to turn it off again if Windows is loading.
- If you’ve done this twice, the third time Windows will launch the recovery menu.
- Choose from the list of options Troubleshooting.
- Choose Expanded options > Startup Settings.
-
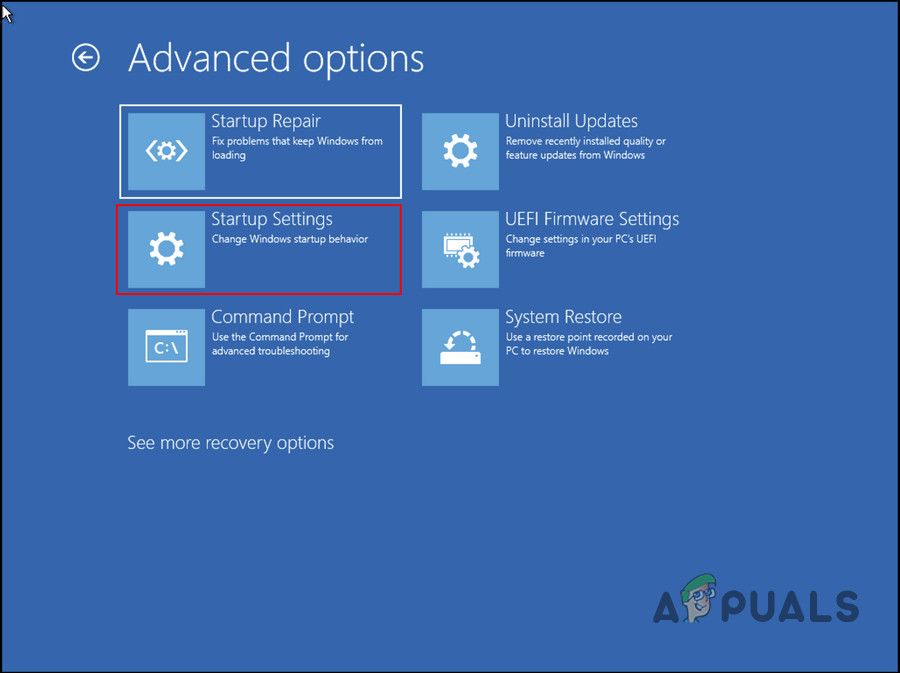
Click on the Startup Settings option - After the PC restarts, press F4 in the Startup Settings menu to enter Safe Mode.
- When the confirmation prompt appears, click Yes.
- Once you are in Safe Mode, press the To win + R Keys together to open Run.
- In the Run window, type cmd and press ctrl + layer + Input Keys together to launch Command Prompt as Administrator.
- click Yes in the User Account Control prompt.
- In the command prompt window, type the following command and click Input.
DISM.exe /Online /Cleanup-image /Restorehealth
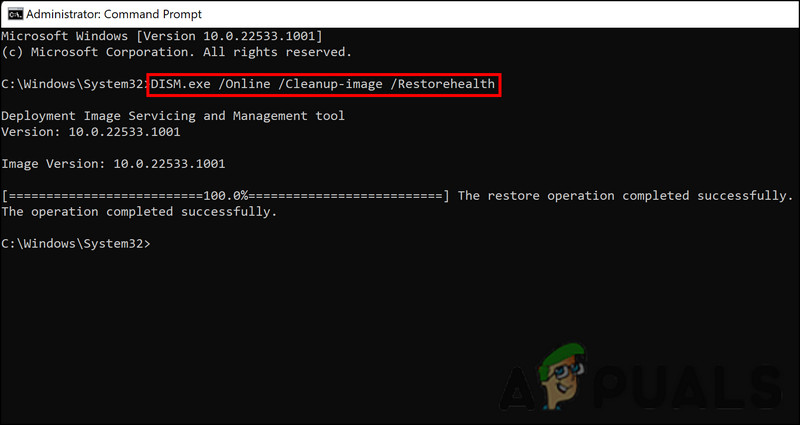
Run the RestoreHealth command - When the command has finished running, run the following command:
sfc /scannow
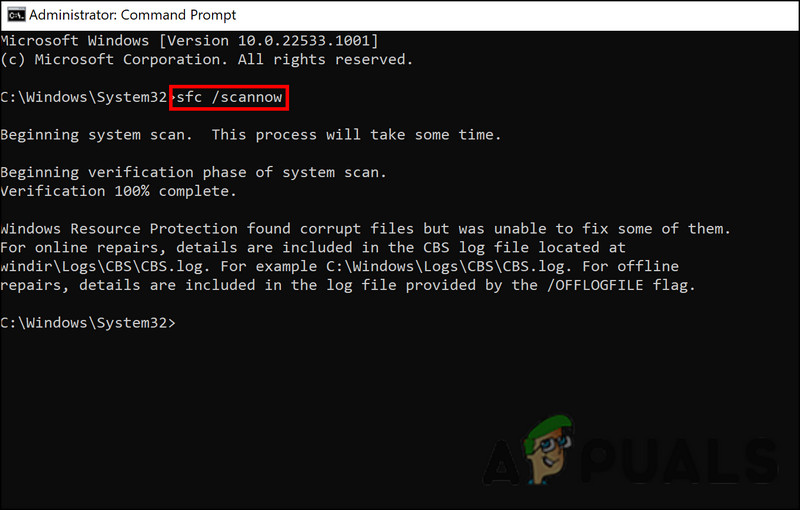
Run the SFC scan - Once the command has been executed, restart your computer.
Hopefully you won’t face the problem again when you restart.
3. Uninstall the latest updates
Next, you can try uninstalling the recently installed updates. There is a chance that the latest updates you installed were corrupt or buggy which is what caused the error to appear in the first place.
If the problem started after installing your latest pending updates, uninstalling it might fix it. This can be done through the Control Panel, Windows Settings, and Command Prompt.
Here’s how you can do that:
- Press To win + R to open the Run dialog.
- Type control in the Run text box and click on it Input.
- Then click Uninstall a program within the programs Control Panel section.
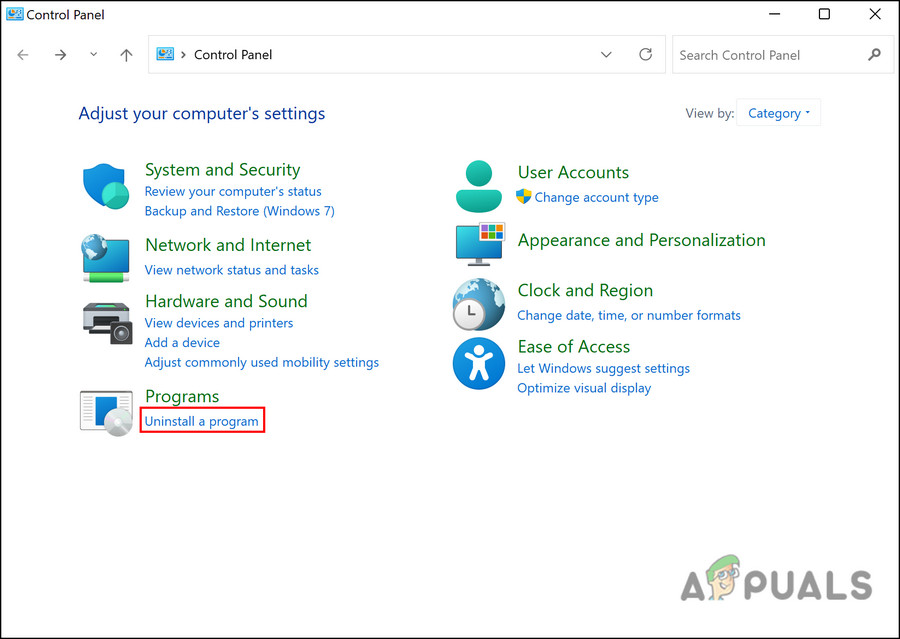
Click “Uninstall program - click Show installed updates on the left side of the screen.
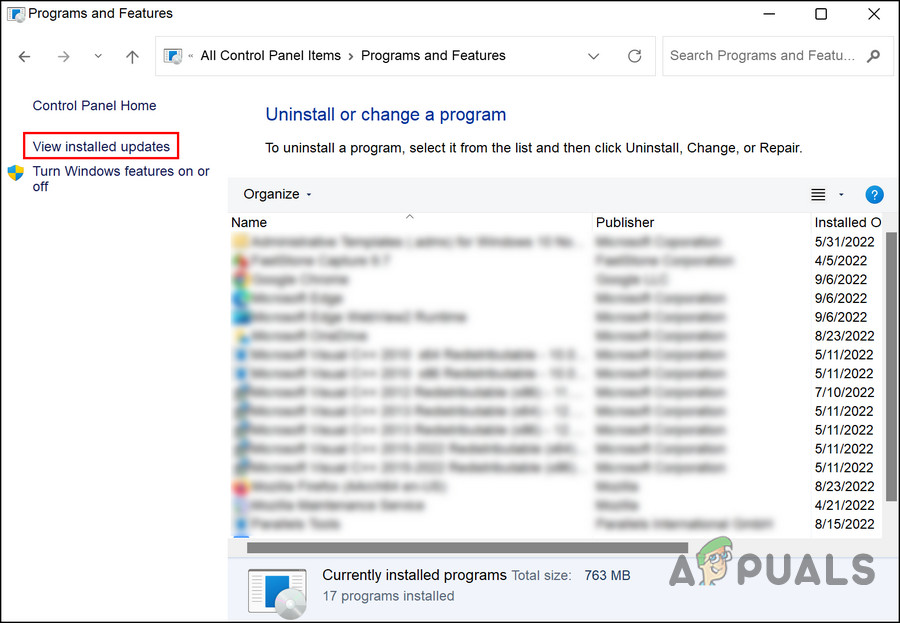
Click the View Installed Updates button - Select the recently installed update by right-clicking on it.
- Select from the context menu Uninstall and follow the on-screen instructions.
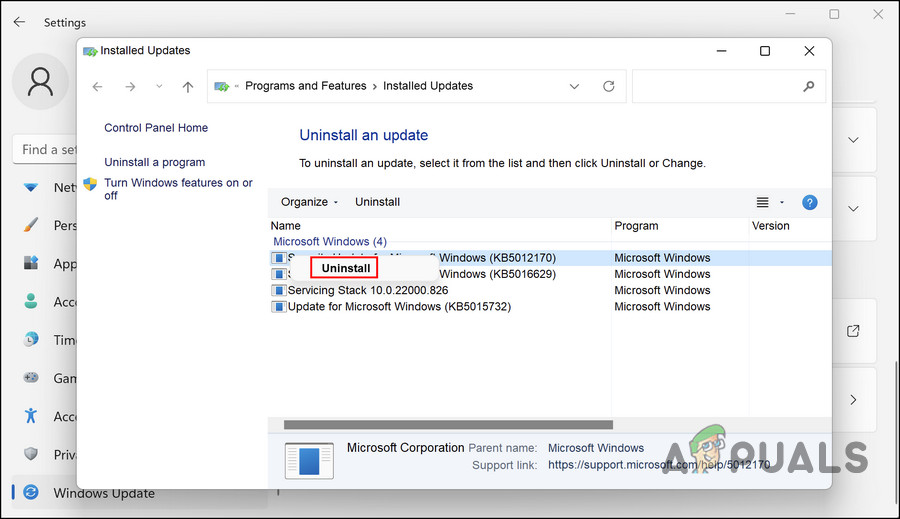
Click the Uninstall button - Restart your computer and see if the problem appears again.
If you cannot uninstall the updates using Control Panel, use Command Prompt instead. Follow these steps to continue:
- Open a Run dialog again by pressing To win + R keys together.
- Type cmd in the text box of Run and press ctrl + layer + Input to open the command prompt as an administrator.
- click Yes in the User Account Control prompt.
- Type the following command in the Command Prompt window and press Enter. You can use this command to search for installed Windows updates on your PC.
wmic qfe list brief /format:table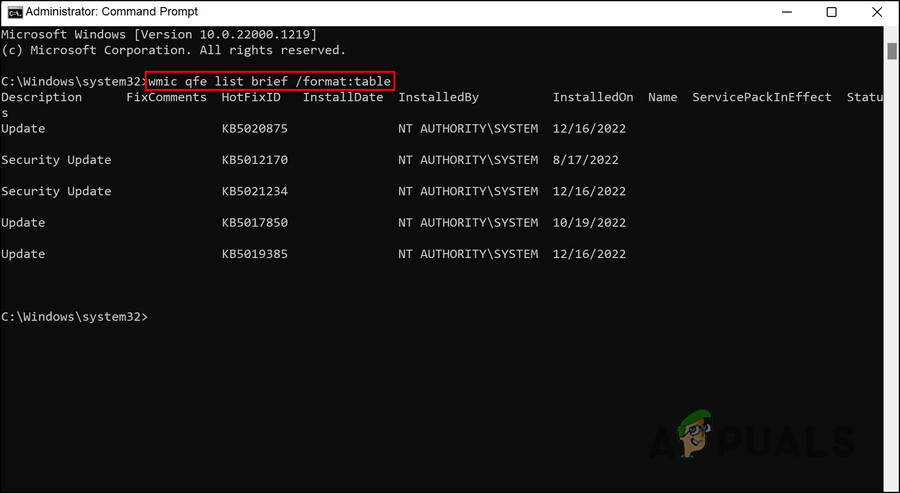
View the installed updates - Each update has a corresponding ‘HotFixID’. Make a note of the ID of the update that you want to uninstall.
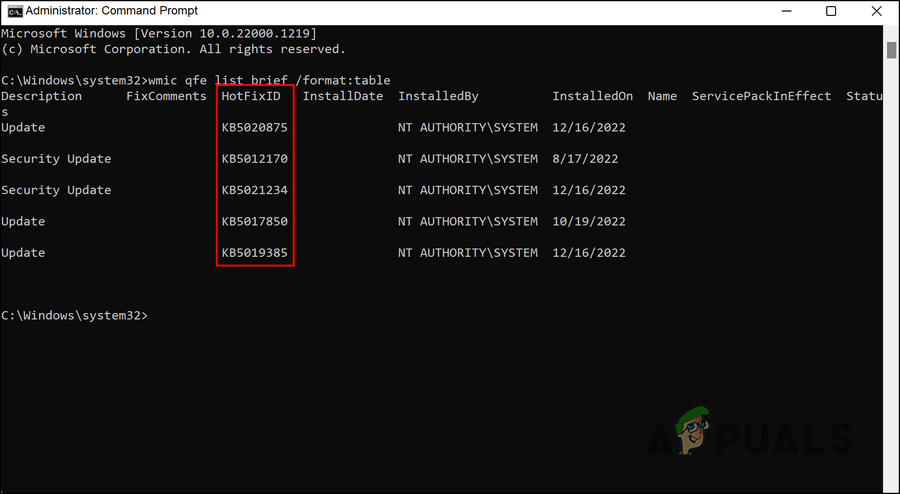
Installed update on Windows - Type the following command in the command prompt and press Input.
wusa /uninstall /kb:HotFixID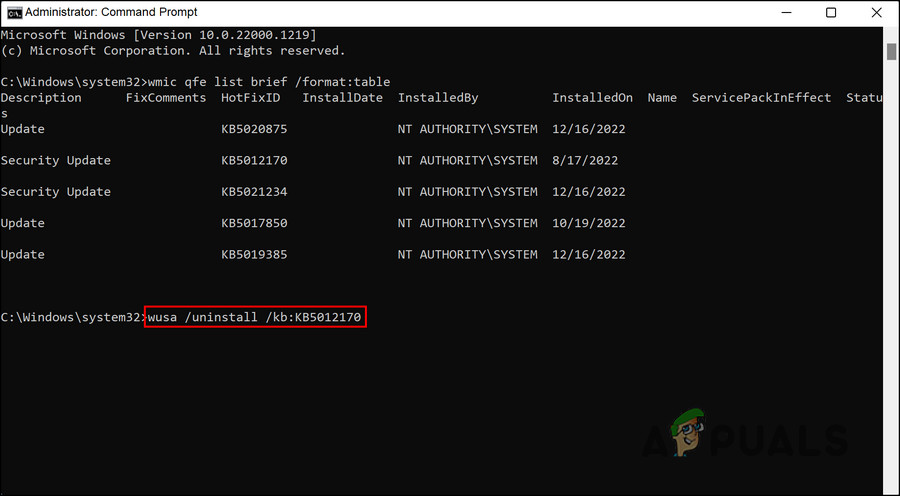
Uninstall the update - Your saved ID should be replaced with “HotFixID”. Only the numeric part of the ID should be included. Enter Yes to confirm the action.
4. Repair Windows
If the troubleshooting methods haven’t helped you to fix the problem so far, you can try to repair the Windows installation.
The repair installation of Windows replaces the existing installation on your hard drive with the version you have on your DVD or installation media. By doing this, you can repair corrupted system files while ensuring that files, applications, etc. remain intact.
Hopefully it will fix the problem once and for all.

